

The month of June was fruitful in terms of opportunities to learn about electronics. While the projects in this post didn't take too long individually, I definitely thought about them a lot. I'm going to talk about what I worked on last month, include some pictures, and talk about some of the setbacks that I experienced.
The two main projects in June were:
- BNB Fightstick Kit
- PS5 Controller Stick Replacement
BNB Fightstick Kit
For a few months, I've been getting the urge to pick up and play a fighting game. I initially got my start with Super Street Fighter IV and it was a game I was really passionate about for many years. When Arcade Edition released, a DLC add-on that included new characters and balance changes, I woke up really early to download the DLC and play a few matches before I had to go to school.
I really got into it! So much that I even bought a dedicated controller for the game. At the time, Madcatz was selling really high-quality arcade sticks that could be used for the game. Getting my hands on one was inevitability, but it also introduced me to the world of arcade stick customization.
I learned how to swap out the artwork on my arcade stick, then bought new buttons so that they matched the controller's new look. It was really awesome and I spent many hours customizing my arcade sticks over the years. Eventually, I began exploring other interests and passion for fighting games died down considerably.
It was a few years ago that I first learned about the Hitbox. Whereas traditional arcade sticks used a lever to move a character on a 2D plane, the Hitbox replaced the lever with a dedicated button for each directional input. The Hitbox caused a lot of controversy when it first released, many people believed it gave people an unfair advantage. Others straight up called it cheating, too.
However, when you look at it objectively ... both the four buttons (leverless) and a traditional arcade stick work similarly.
Each time a traditional joystick goes past a threshold, it will send that input to the game. When you press a direction on the Hitbox or any "leverless" stick nowadays, it works the same way.
How about corner inputs? Well, they also work similarly, but I would argue that it takes more effort to do the same input on a leverless stick. If you move your stick to the bottom right corner, the controller is not going to sent a "corner" input.
Instead, it will send an input for the direction "right" and another for the "down" direction. The combination of these inputs creates that "motion" of the corner input. On a leverless controller, you'll have to press two buttons to achieve the same thing. That's why I argue that it technically requires more effort than using a traditional stick, but I think the tradeoff is a greater degree of control.
Anyway, I've never played with a leverless controller and I was excited to see what the hype was all about. I thought about buying an entry level controller that wouldn't break the bank ... but I really really really wanted to customize it and call it my own, so I decided to see what the folks over at Focus Attack had to offer.
https://focusattack.com/fightsticks-pads/popular-brands/bnb-fightstick/
Focus Attack was one of the stores I would check out back in the day, I'm really glad they're still around. Anyway, there are many controller manufacturers nowadays. Many are well known, like Hori, but there are plenty of independent ones as well. Focus Attack offers DIY arcade stick made out of acrylic pieces and other materials that you can assemble at home.
At first, I was skeptical of the quality and durability, but I quickly reminded myself that the fighting game community can make a controller out of anything.
And now that I've been playing with the fully assembled kit for a few weeks, I can confirm that it feels surprisingly durable. As long as I take care of it, I don't see my BNB Fightstick breaking anytime soon. After all, I built the thing myself!
So on Focus Attack, you can select which components you'd like in your kit. Most, if not all, components are explained and there's an FAQ and checklist you can use before you submit your order. I'm not going to go into too much detail about the components, but I do quickly want to talk about the Input Control PCB.

This is what sends the input from the controller to the hardware that your game is running on. This is the Brook Gen-5X Multi-Console + PC Fighting Board. As far as I know, the software for Brook products is closed-source. While there is an open-source (and more affordable) alternative called the GP2040-CE, I decided to go for the Brook because I wanted to minimize the amount of time I would need to spend on setting up my controller for use. The GP2040-CE can support some older consoles, along with "mini" / "classic" versions of older consoles, but you'll need to learn how to set that up yourself. Thankfully the community is very helpful and the documentation for the hardware is extensive.
That being said, while I support their initiative from a moral stand point .. I just really want my controller to be plug and play, lol. I only really see myself playing on PC and PS5. Brook also sells adapters for older consoles, like the PS2, that the GP2040-CE doesn't support.
To my surprise there's a lot of reverse engineering that goes on to make these types of PCBs work with modern consoles. As I mentioned previously, the PS5 is a little weird in that only certain controllers are authorized for use. The PS5 will request authentication from a controller, and if it doesn't provide it, then it's subject to an 8-minute lockout. GP2040-CE's website explains this in detail a little more, but this is something I wanted to avoid if I ever use my arcade stick with a PS5 in the future.
https://gp2040-ce.info/faq/faq-console-compatibility
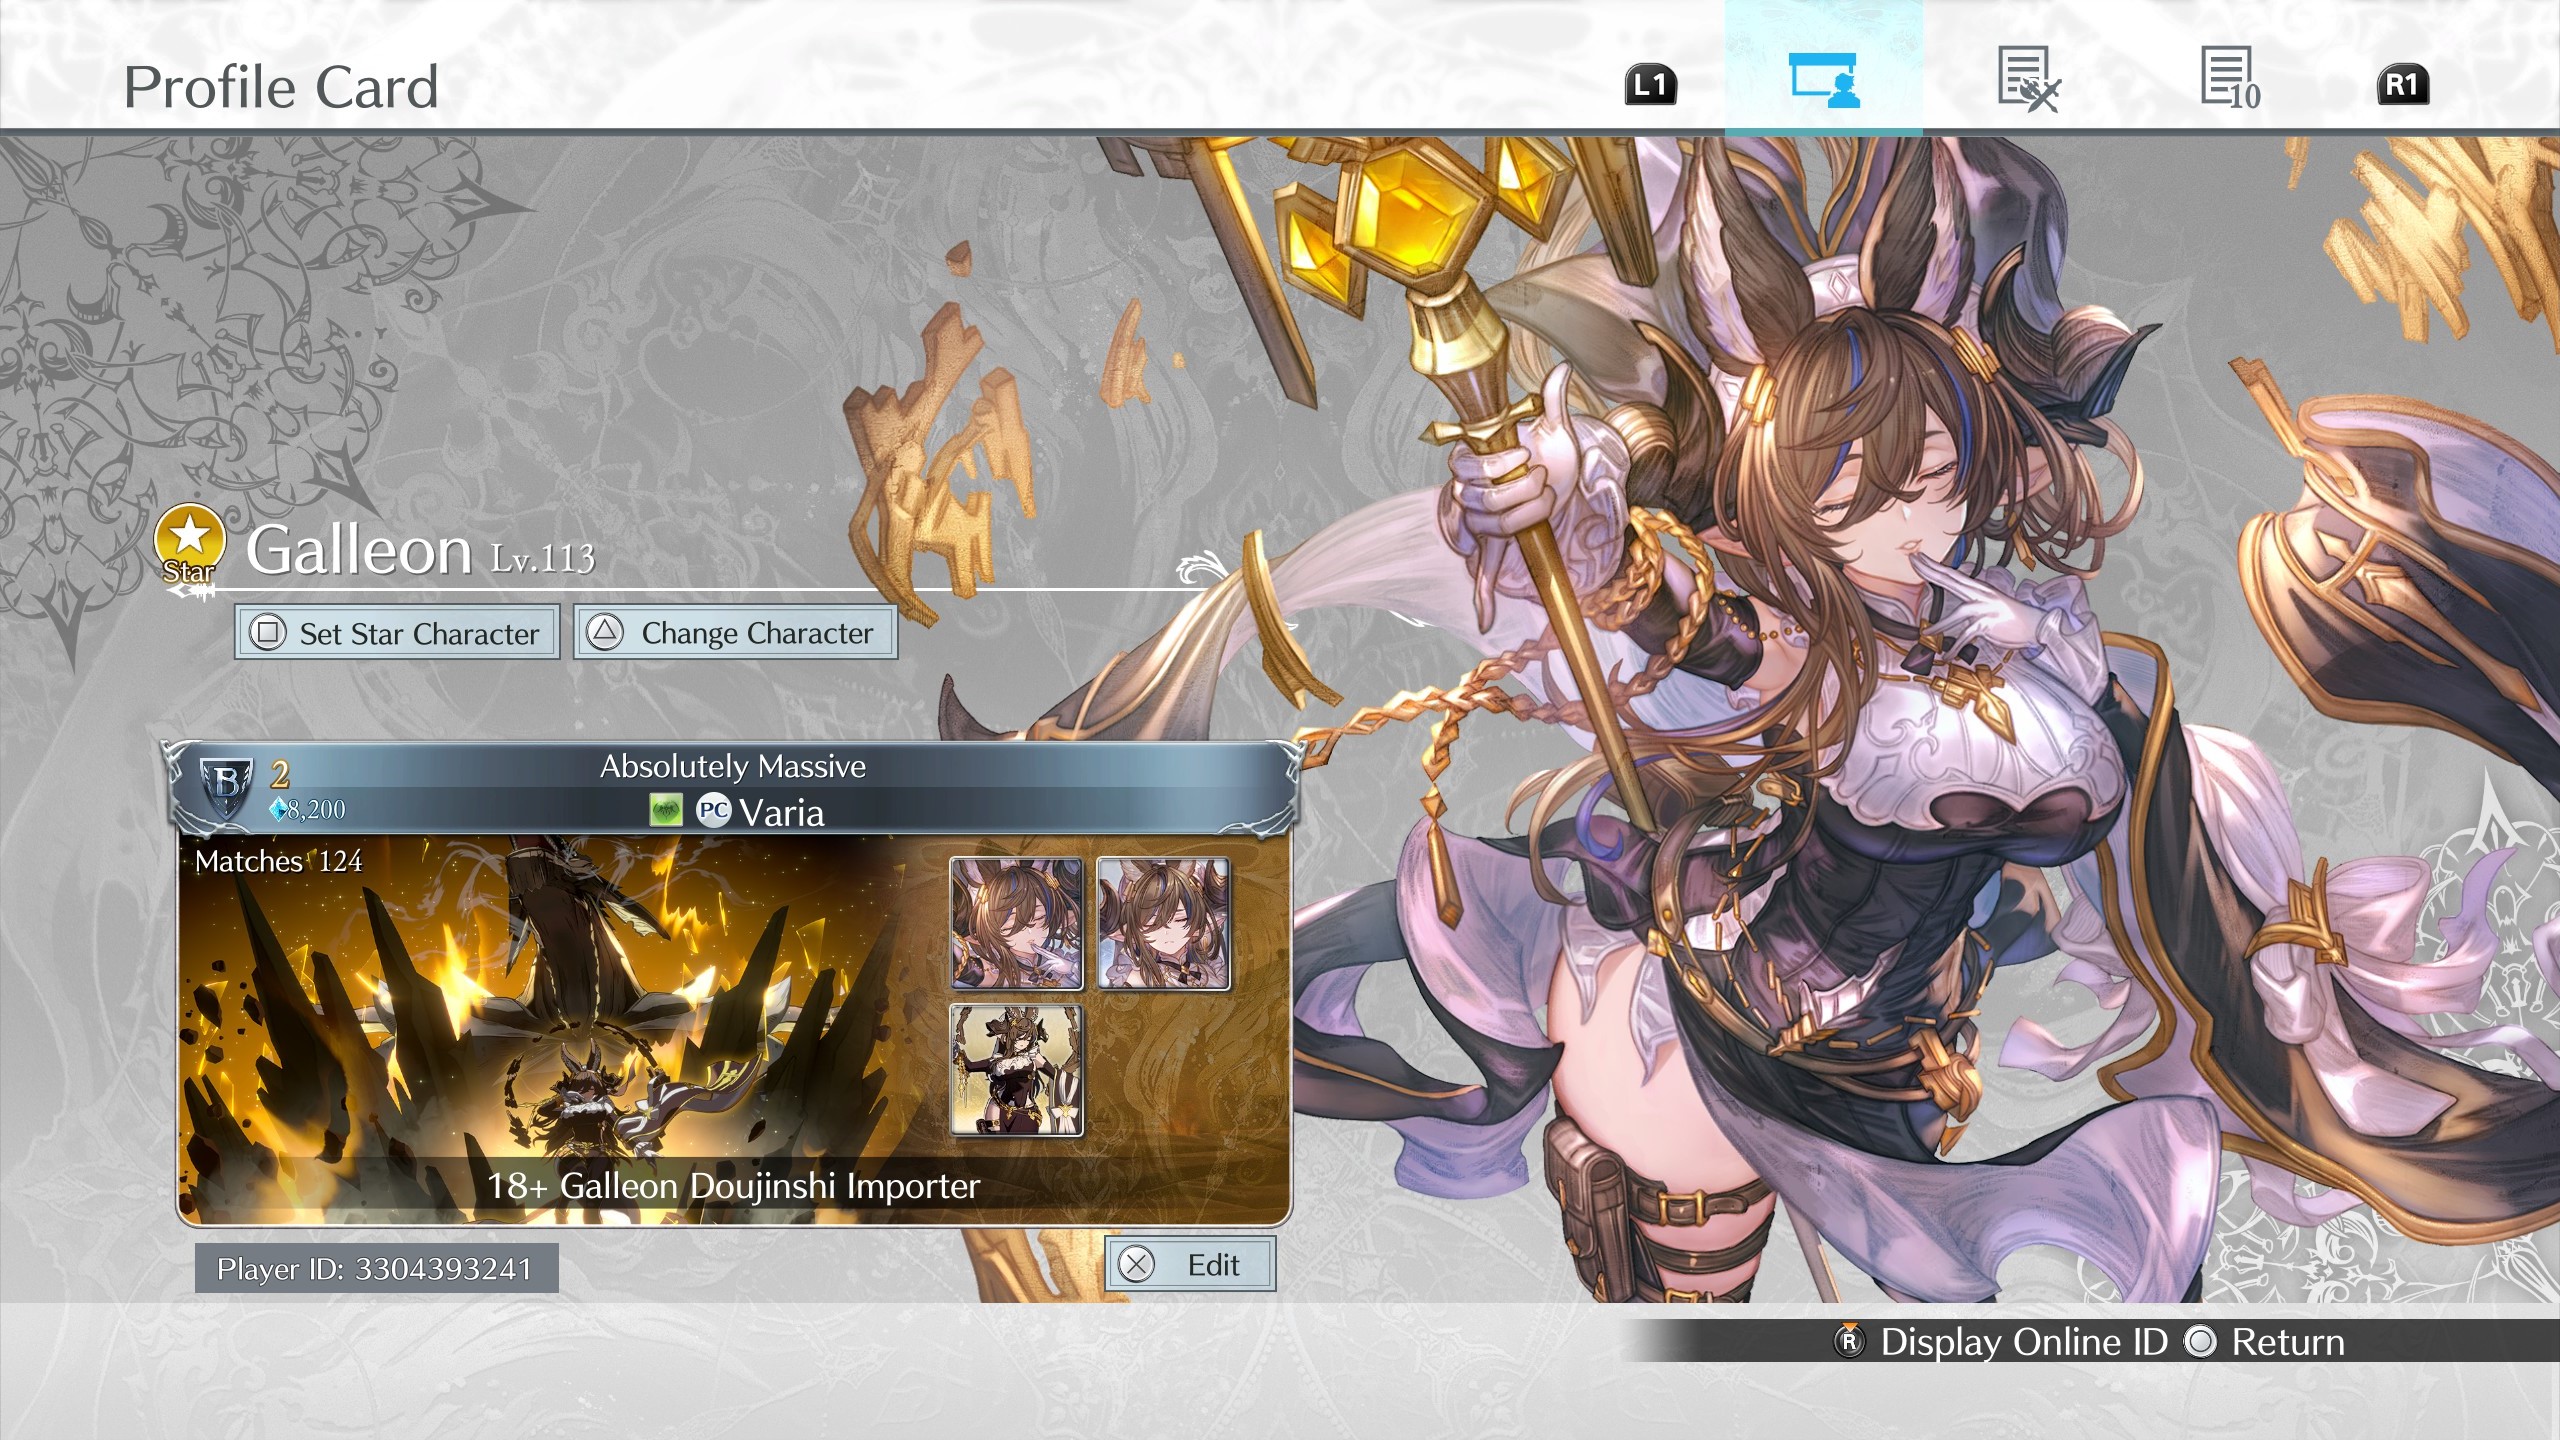
The fighting game that I'm mainly playing nowadays is GranBlue Fantasy Versus: Rising. I actually played the gacha game that it's based on a few years back, so I'm familiar with the characters a little! I decided to choose this game not only because it's REALLY STYLISH, but because it's one of the few fighting games that actually has simple inputs.
These are basically shortcuts for the many flashy moves that require more technical inputs like quarter-circle or zig-zag movements from the arcade stick. They work really well as training wheels for those new to the game. However, I felt that I'd get the most out of my newly-built arcade stick if I just learned the game the old fashioned way with traditional inputs.
It's been a great experience! The game is fun and the community is .. amusing, lol. I'll probably share screenshots here, but I really just want to show my finished arcade stick already.
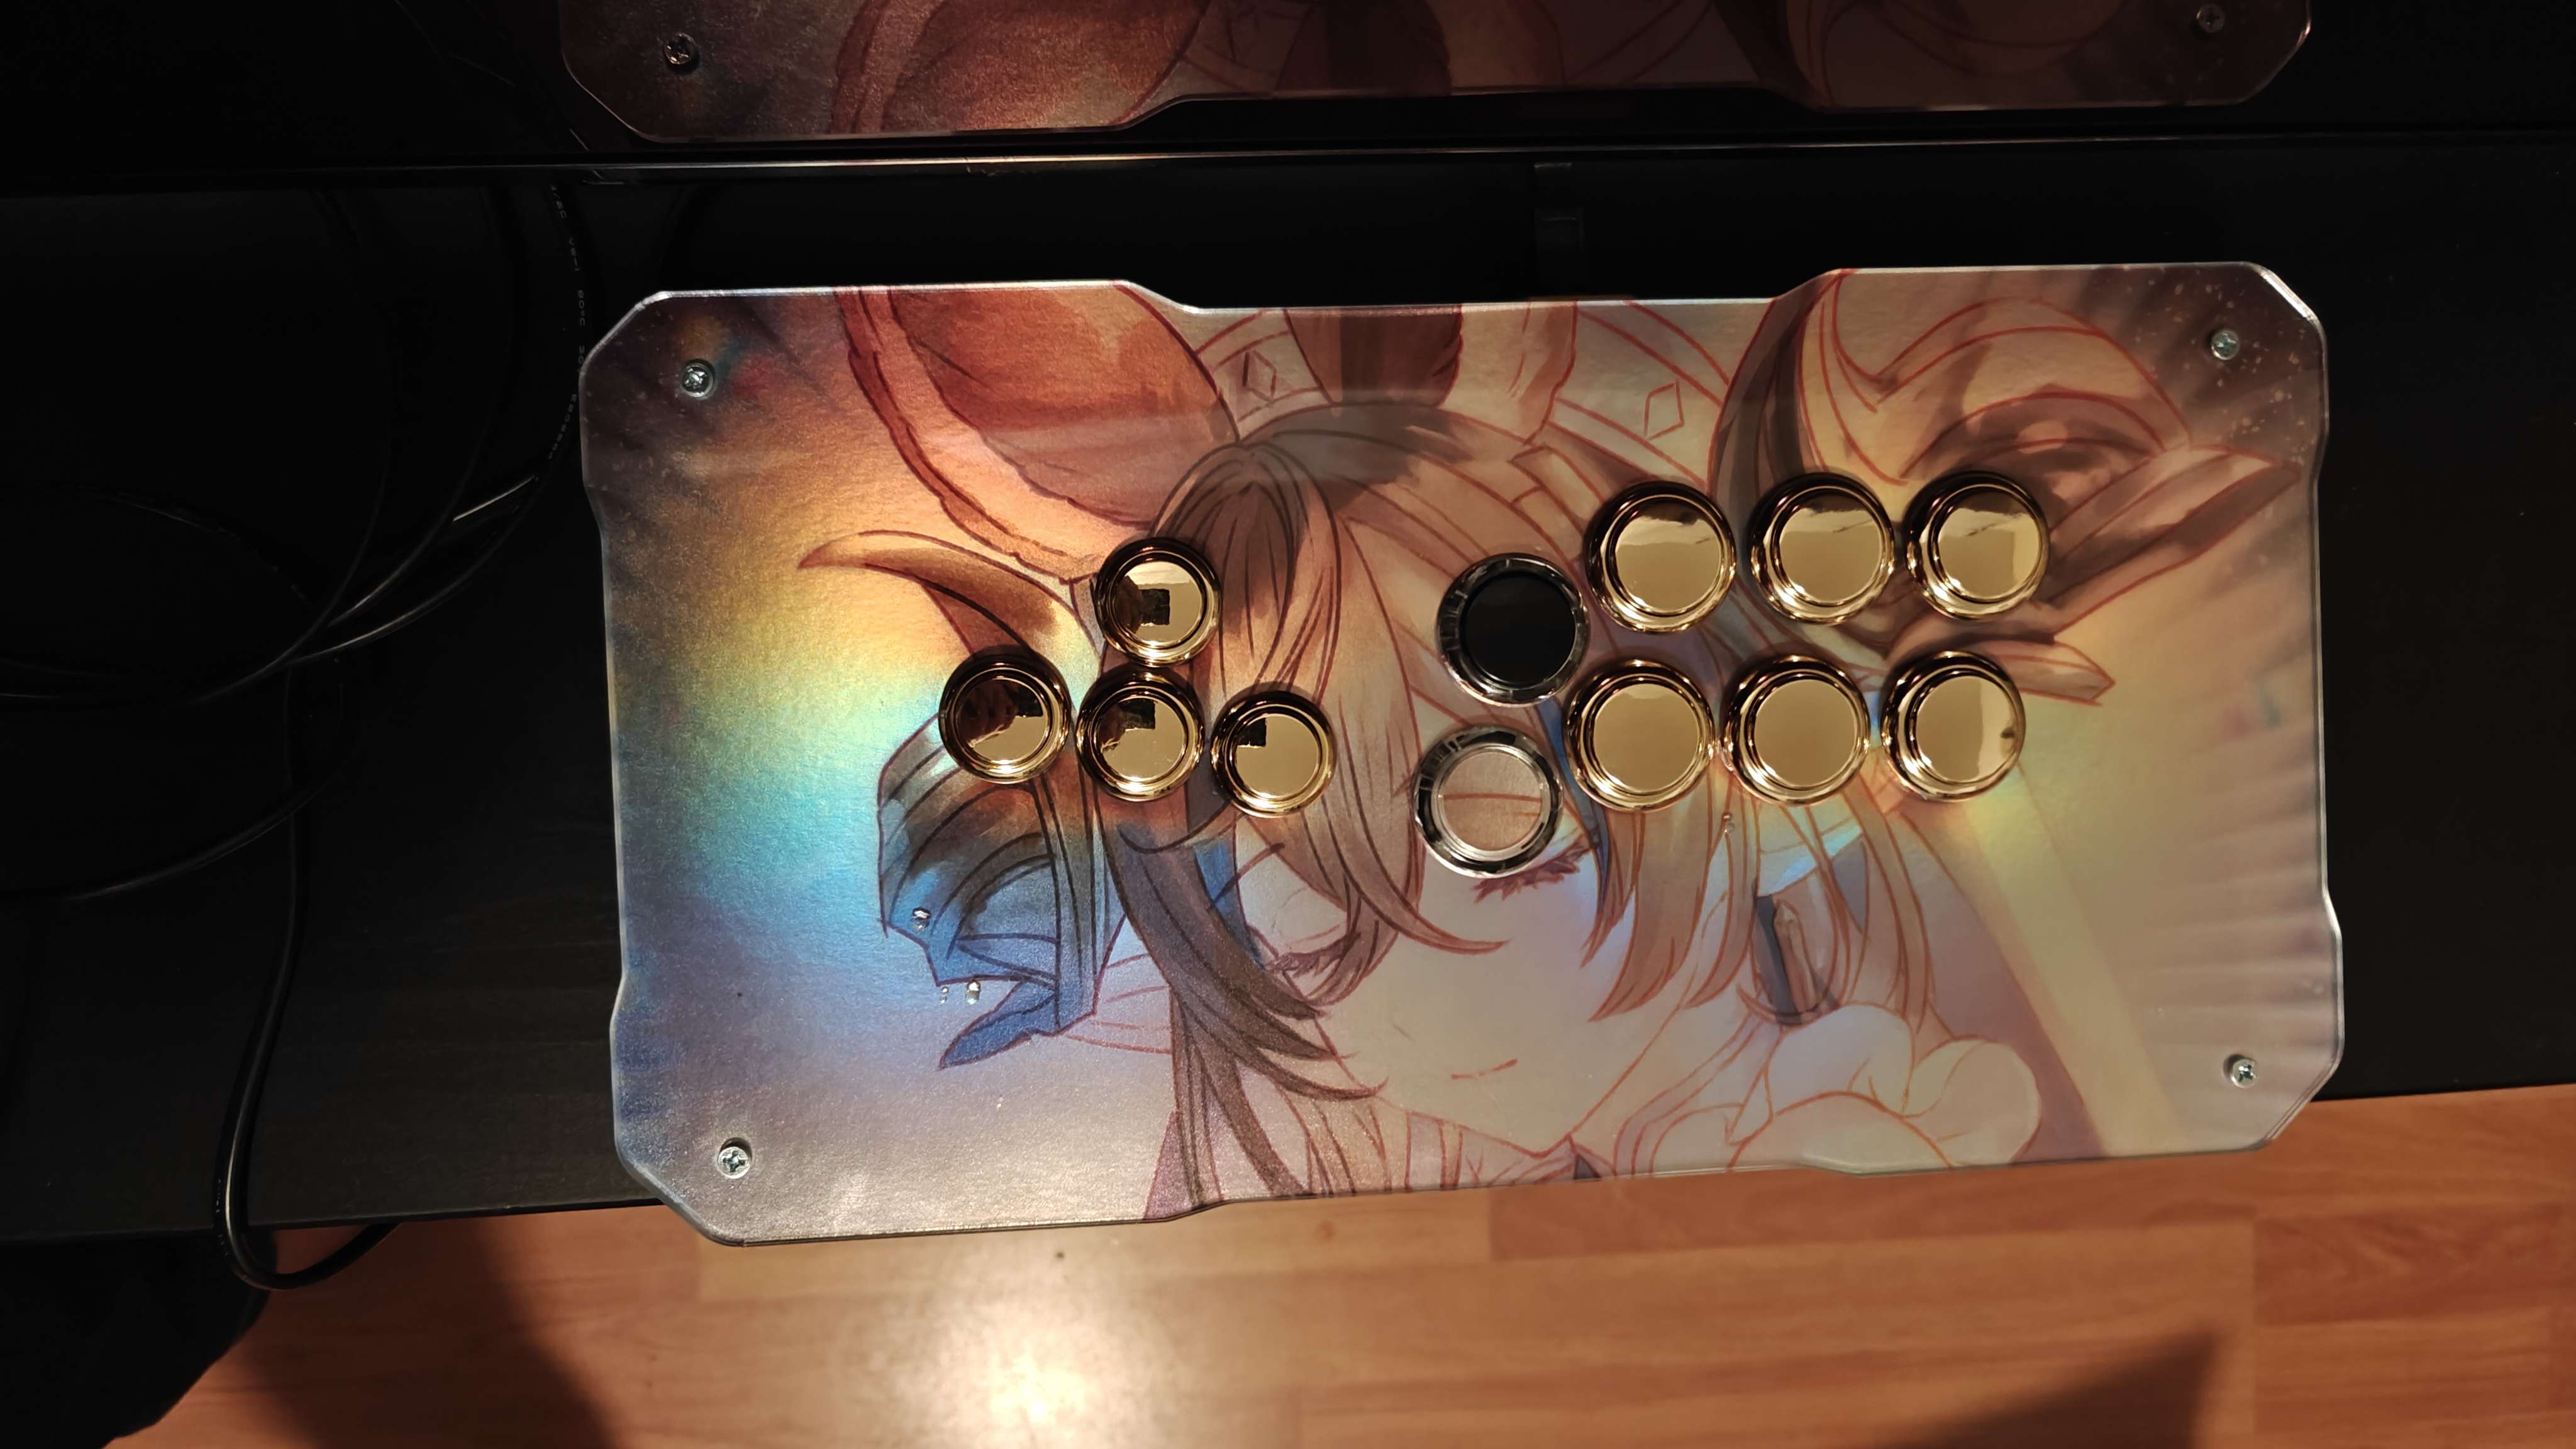
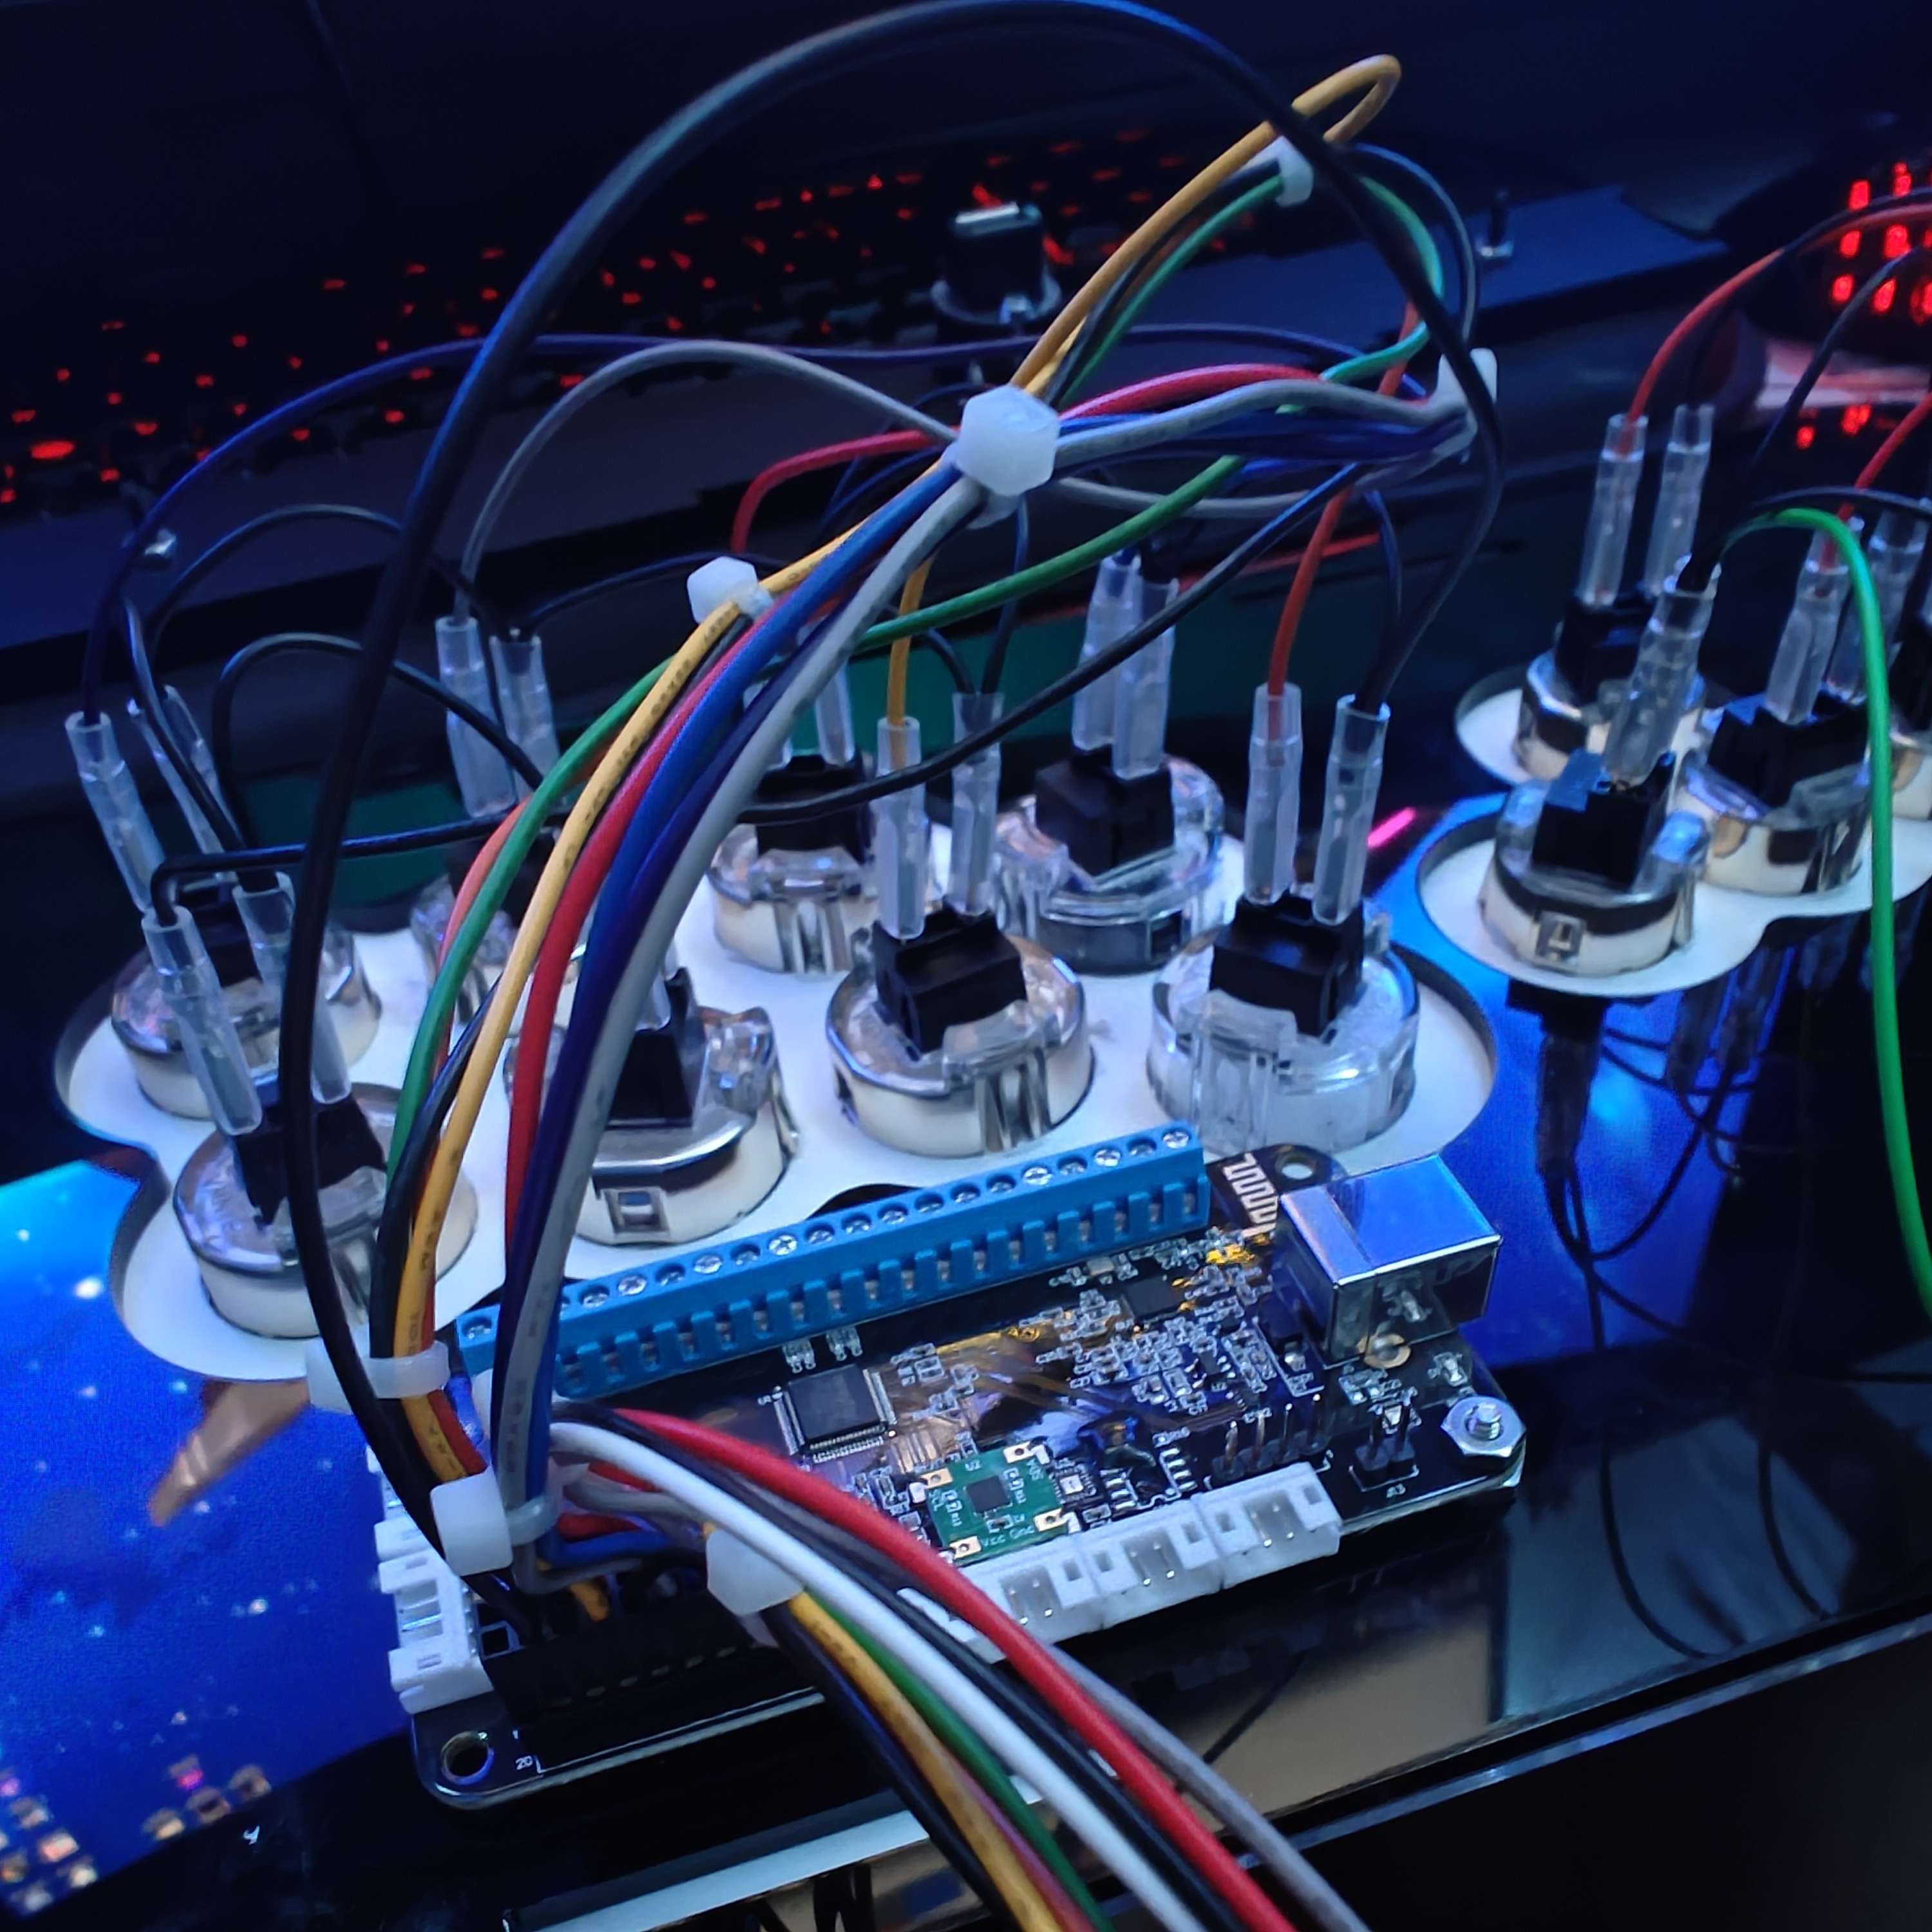
Here she is in all her glory! The artwork is of the character Galleon, who actually released as a new DLC character in the game a week or two prior to when I built my arcade stick. Focus Attack offers holographic prints which really adds to the majesty of the artwork. The second picture shows the Brook Input Control PCB and the color-coded wires that are connected to the individual buttons underneath the stick. Each button needs both a cable for the input signal and another one for the ground. The PCB is powered via USB.
The arcade stick is really awesome in-person. I bought golden buttons to fit the theme of Galleon. In GranBlue Fantasy, she's known as Galleon the Gold and has this color palette with dark-browns, white, a bit of blue, and of course ... gold. I always enjoy looking at my arcade stick, but one issue I have is how easily the buttons get smudgy. It's honestly on me since I decided to be really flashy with this build. It's not so bad though, I just need to polish the buttons regularly.
PS5 Controller Stick Replacement
Remind me, did I mention this in my post about Stellar Blade? If not, I basically wanted to play Stellar Blade on my PC exclusively with my PS5 controller. I'm actually a huge fan of haptic feedback and think it helps with immersion A LOT despite how gimmicky it might feel sometimes. And for the majority of the game my Dualsense controller's performance was ... stellar! It wasn't until I was about 70% through the game, about 30 hours in, that I realized that my character was moving on her own. At first, I thought the issue was with the game, so I restarted it but quickly encountered the same issue again.
I actually knew what was going on, but I didn't want to accept it. I was experiencing controller drift for the first time in my life.
I own a Nintendo Switch, but to be honest with you, I've never used the Joy-Cons, like ever. Maybe it has to do with the fact that it's the Animal Crossing edition of the console and I didn't want to handle such a beautiful pastel-colored piece of hardware with my bare hands. I think all my Switch games were played exclusively with a Pro controller that I eventually purchased.
The reason I mention the Switch is because over the years it's probably been the #1 console I've heard stick-drift issues from. I was actually a little surprised because I wasn't aware of how often I used my Dualsense controller to the point that I wore the sticks down.
You'd think for a $600+ console from a major electronics brand like Sony, you'd get something that lasts ... I dunno ... the entire life of the console itself??
It wasn't long until I had to face the facts. My Dualsense controller had stick-drift and I could deal with it in one of two ways:
- Purchase a new controller and eventually experience the same issue AGAIN.
- Attempt to fix my controller myself, potentially damaging my controller beyond repair and spending more $$$ than I would have if I just went with #1 in the first place.
At first, I actually decided to do NOTHING about it. Through sheer stubborness and determination, I actually managed to beat Stellar Blade with a controller that had absolutely HORRIBLE stick-drift. Like it was really bad, I had to constantly hold right on the left thumbstick to keep my character in place. Otherwise, she would constantly run to the left. Once in a while, the controller gods took pity on me and granted me a couple of seconds where the inputs worked correctly. But yeah, the finale of Stellar Blade was completed with a broken controller.
Okay, for the repair I actually religiously watched the iFixit repair guide on their website. It specifically covers the Dualsense controller, among many others. It was very comprehensive and it helped me with the re-assembly.
Secondly, I had to buy a soldering kit. This is what I was scared of the most. I had never soldered anything before! However, the videos from iFixit and other people on YouTube made it seem really easy. I managed to find the equipment that I needed relatively cheap on Amazon.
If I were to provide advice for anyone wanting to do this, please buy a desoldering iron if you're going to replace the sticks on your Dualsense controller. The iFixit video guide for this repair made it seem like it was doable with just a soldering iron and copper desoldering wick, but I had a miserable time with this method. It's actually like doing it on hard mode for no reason.
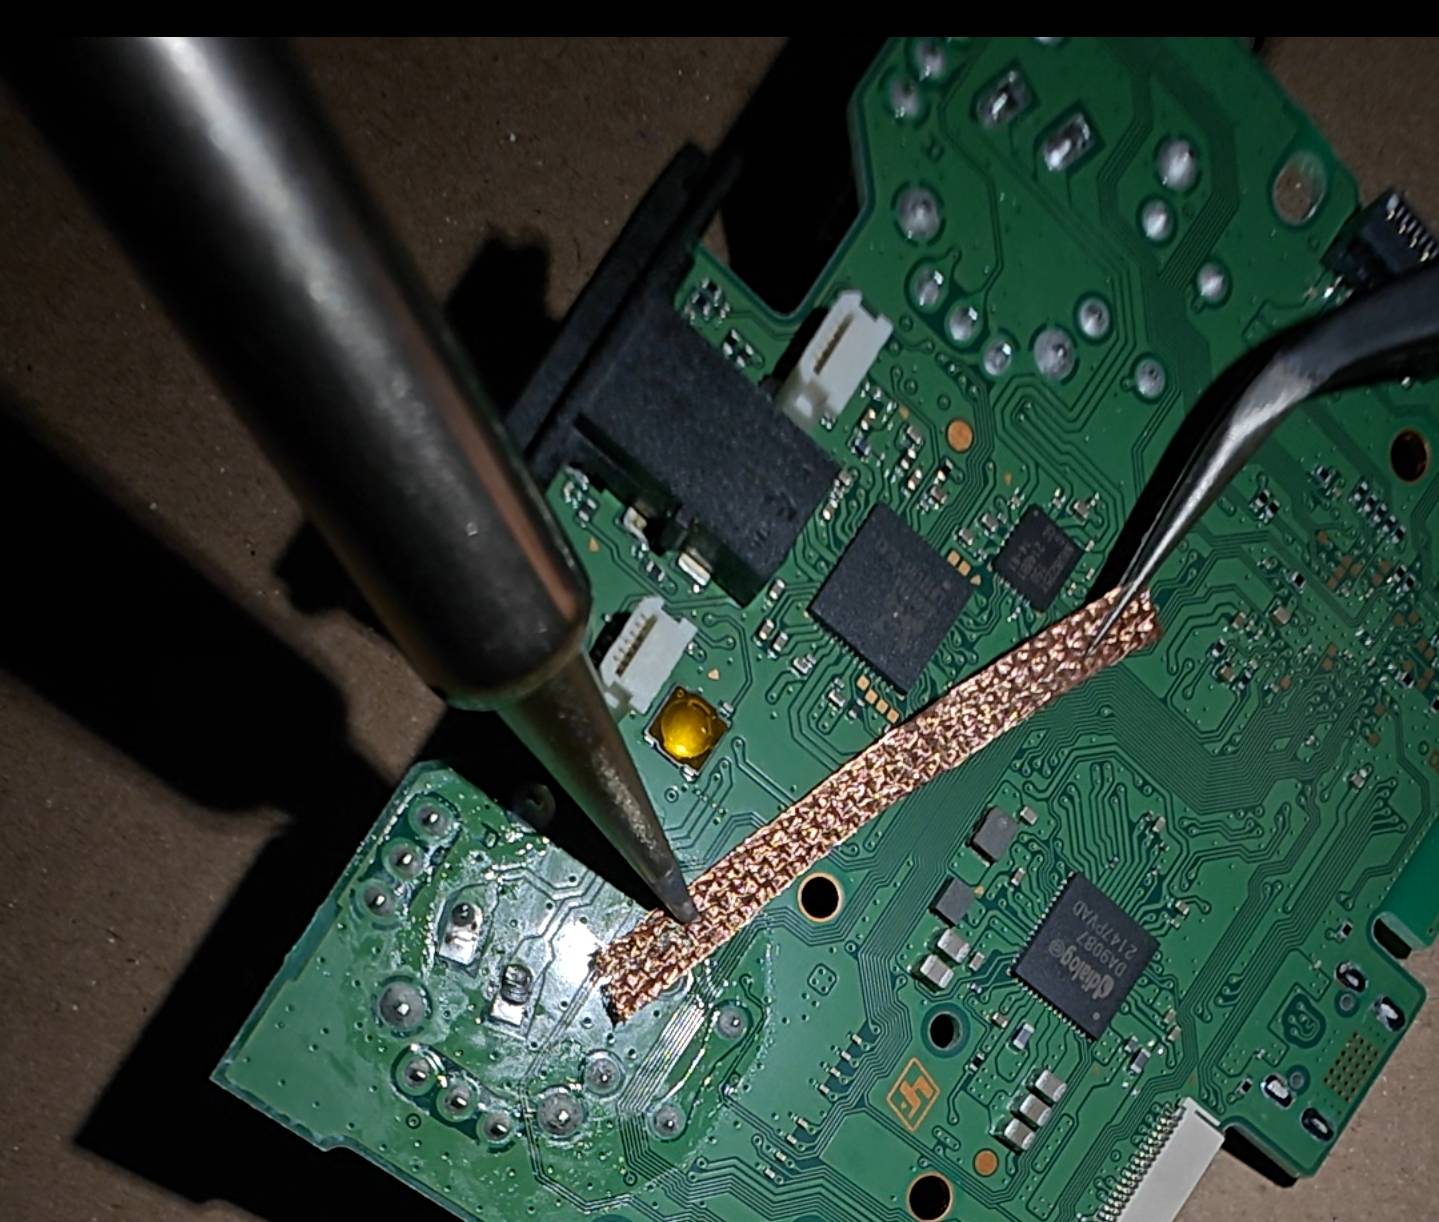
If you look up the video, there's about 10+ of these little connectors that have to be desoldered in order to remove the old stick. I think the issue here is that the solder that is on the controller's PCB has a higher resistance to heat, making it more difficult to melt since the solder holds the connection in-place through the other side as well.
One solution was to mix a bit of solder that has a higher amount of lead. Solder with lead is actually sold widely in the United States. It's actually easier to work with since the melting point is lower, but since lead is ... kinda bad, the EU and other companies have begun using lead-free solder which has a higher melting point.
Mixing both types of solder actually creates an alloy which has a slightly lower melting point than the lead-free solder (the iFixit video explains this).
For a while, I tried this approach but since it was my first time doing anything like this ... I wasn't sure what I was doing wrong. I don't think I managed to get much done on my first day. After watching another repair video, I realized the creator was using a desoldering iron. He actually recommended it because it does a better job at extracting the solder than what is immediately available with a basic soldering kit.
The soldering iron is the centerpiece of the kit, but it also comes with a lot of smaller tools that can help you out. One of them is this tiny pump ... thing. It's basically like a little vacuum that sucks up the solder while it's hot. As it's trapped, it rapidly cools and turns into scrap. You can do this to quickly remove solder, but it's very hard to do at an angle.
This is where the desoldering iron comes in! Imagine the same process, but both tools are built into one. Not only are you able to heat and melt the solder that you cant to remove, but since the tip of the desoldering iron has a hole, you can cover the solder you want to remove from the top down and remove it instantly with the same tool. You don't run the risk of the solder cooling as you move your pump in to remove it. It was honestly the best thing ever, because it made the whole repair process 100x easier. I highly recommend getting a desoldering iron if you plan on repairing your controllers, too.
Anyway, the new sticks were not just replacements, but the way they work are functionally different. Most controllers on the market that experience stick-drift do so because they measure electrical resistance in order to determine what input to send. From what I read, this requires physical contact between components which over time, degrade from constant use.
My replacements are "Hall Effect" sticks which look similar, but use magnets and electrical conductors to measure the position of the stick and use that to send the input. There is NO PHYSICAL CONTACT between the components.
What caught my eye about the concept behind the Hall effect is that it's conceptually similar to how a condenser microphone might work? In a condenser microphone, the difference in voltage caused by sound pressure is how sound is captured. In a roundabout way, you're also measuring for something (in the controller's case, the position of your stick) based on how the medium reacts to the electricity in the environment. Like, you're measuring the difference it causes to get an input, or a sound wave.
I'm REALLY stretching the comparison here, I think, but I just found the similarities interesting.
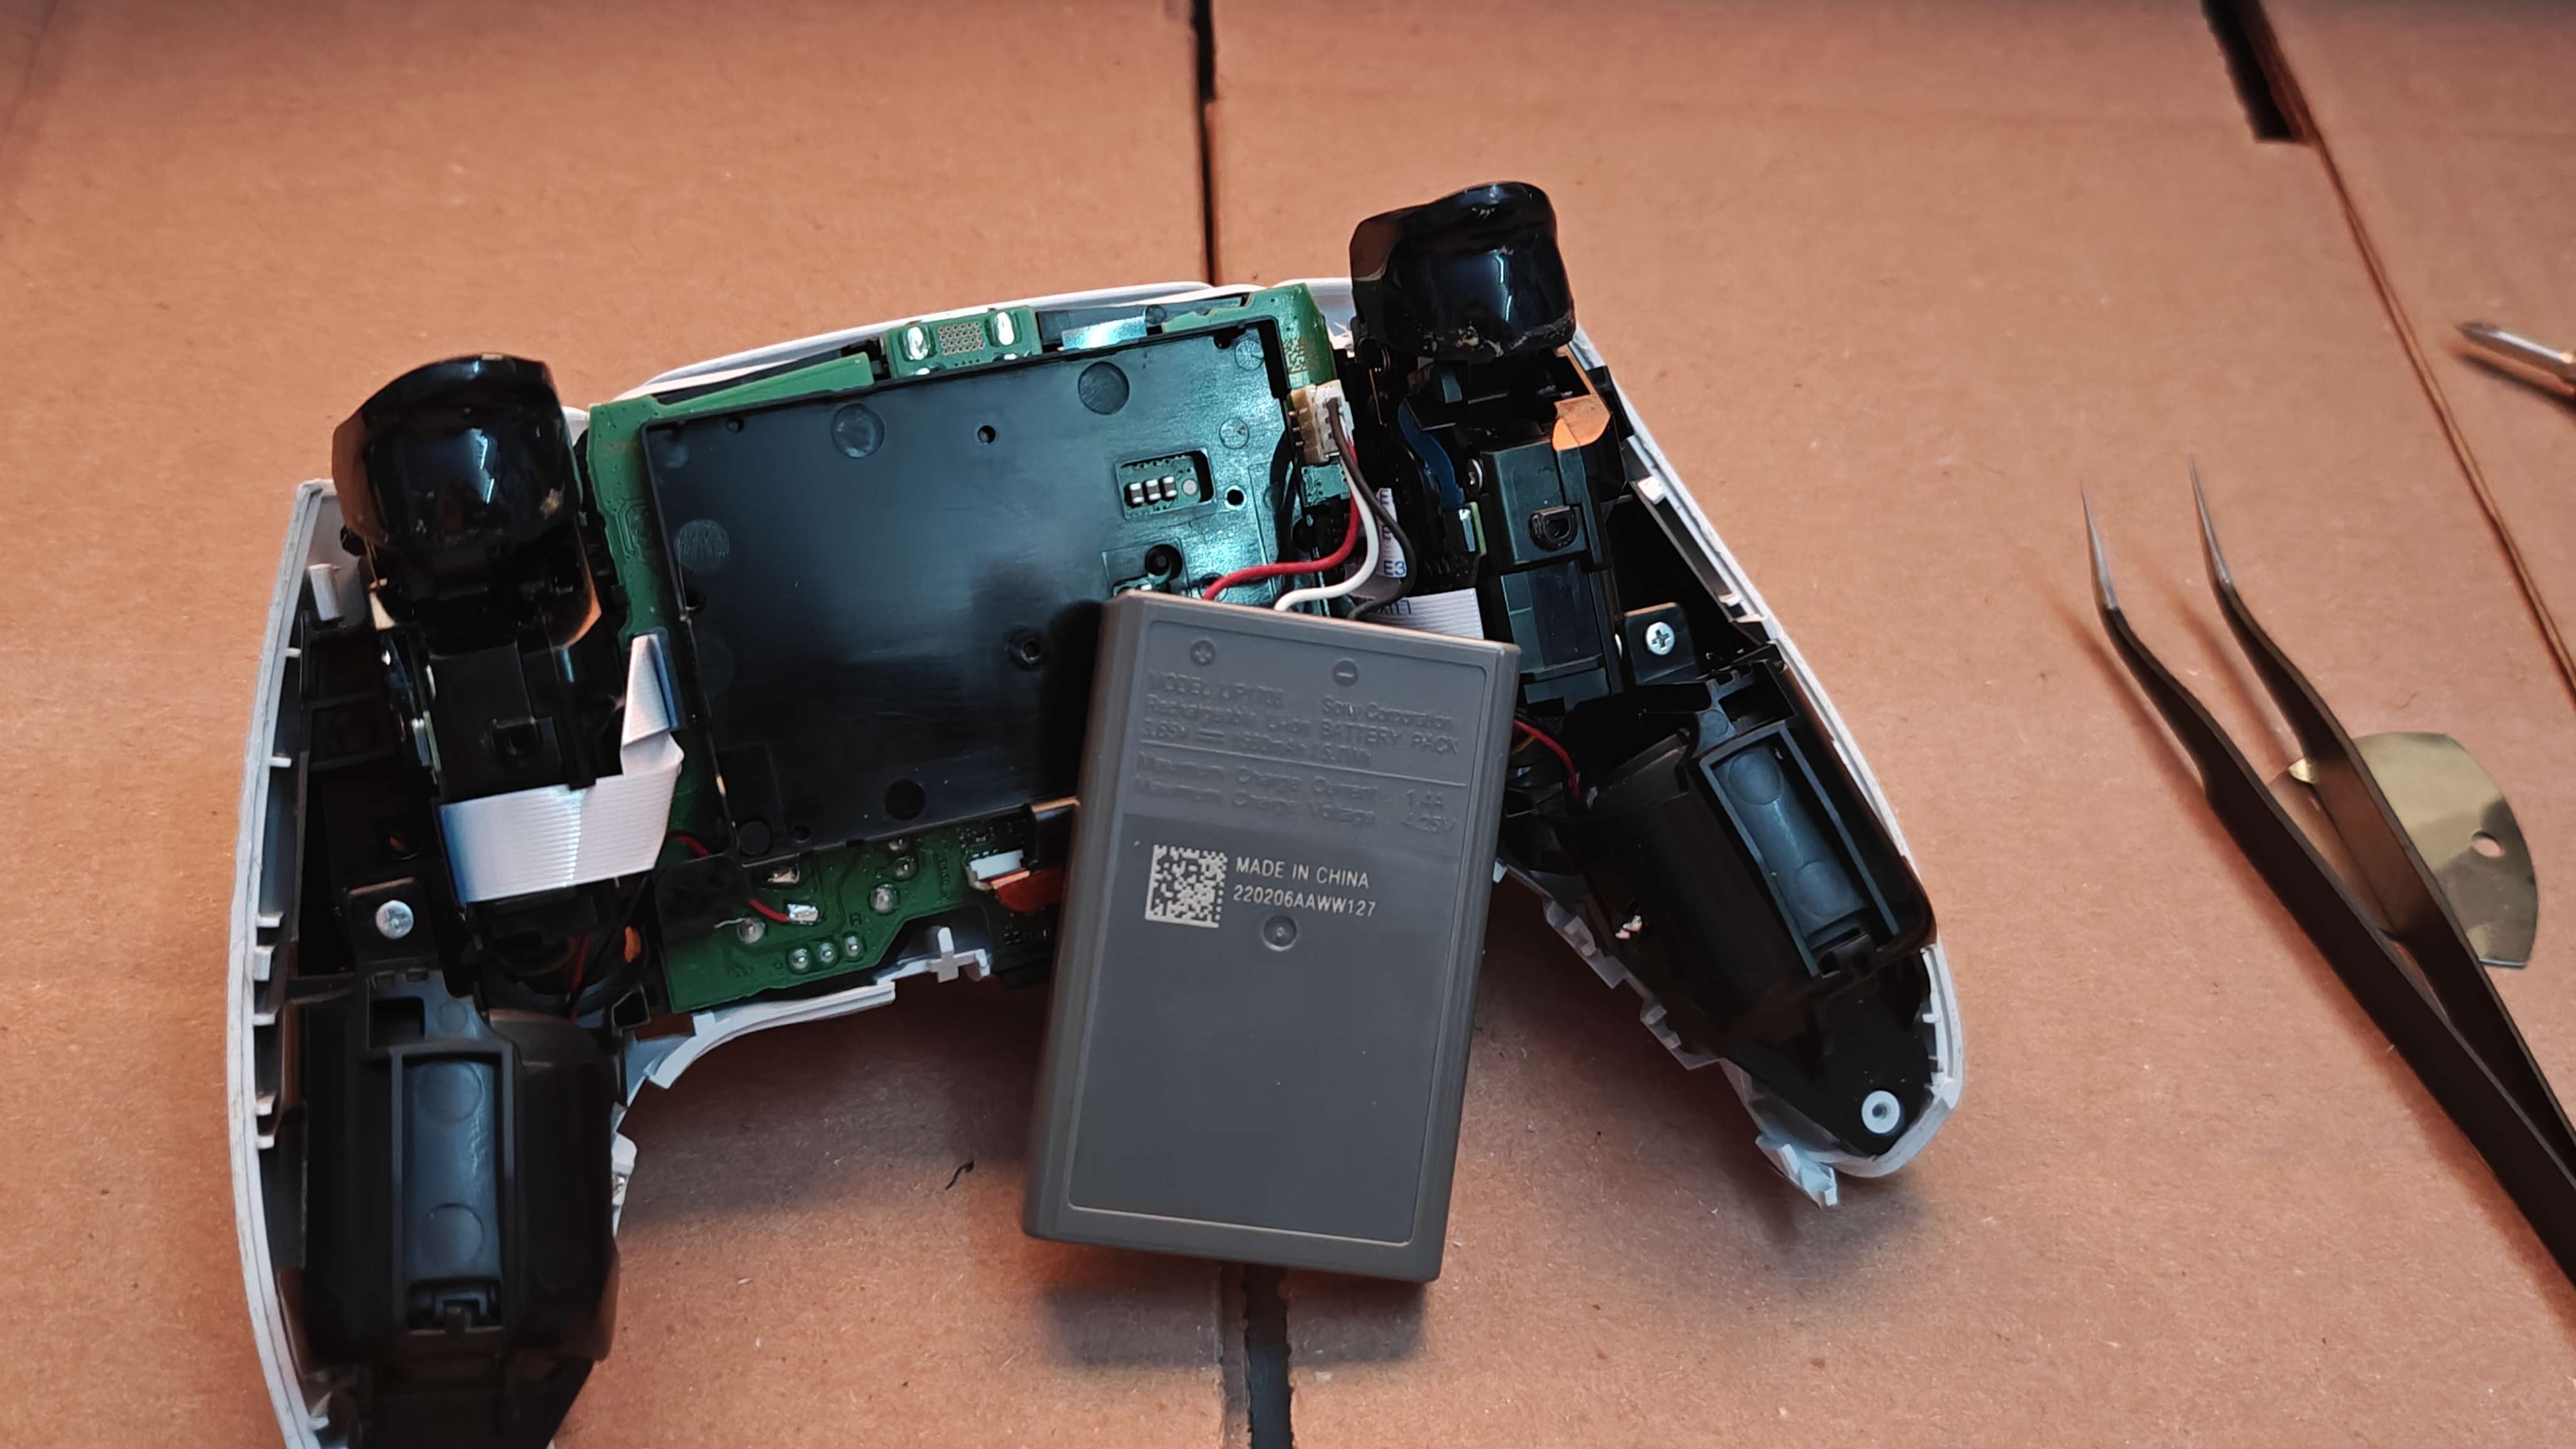
I don't remember why I took this picture, but it's the open inside of my controller. That brick that's dangling from the controller is the battery. That actually reminds me! A long with the Hall-effect sticks, I actually upgraded the battery on my controller. Not only is it lighter than the OEM battery, but it's capacity is considerably larger. I actually use my Dualsense controller with my PC the most, so I rarely get to use it wireless.
I recently bought Death Stranding 2 and had a chance to play it last week so I had the perfect opportunity to test the new battery out ... and the charge held! I was actually surprised, because it was a pretty long session and none of the controller's features like haptic feedback or controller speakers were disabled either. I'll have to get hard numbers next time, but just as an anecdote, I probably lost 1 bar after like 5-6 hours of gameplay? I'll have to comeback to that one for sure.
--
That's it for my projects from June! There are other things in the works that aren't 100% done and still figuring out. My co-worker gave me an electronics kit after I showed her my arcade stick project. I'll probably do something with that in the future as well. I have a lot of interesting things to work on and it makes me really happy, actually. I've been feeling mediocre for the past week or so, but reflecting on what I've done and realizing how passionate I am about learning new things makes me feel better about myself.
As a side note, I have also been writing about how I plan to switch to Linux. I thought I had more time, but it seems that Microsoft is planning to end support for Windows 10 in October 2025. That's officially my deadline to switch to Linux now. I have a few distros that I want to try out now!
Here's a small list:
- https://bazzite.gg/
- https://linuxmint.com/
- SteamOS (While it's based on Arch, I don't want to do raw Arch, I'm not ready for Arch)
- Cachy (Same as above)
- Ubuntu
Here's the deal, I actually found an old laptop I used in college. It's a really nice piece of hardware, but it's missing both Shift keys for whatever reason. I'll probably give these distros a go once I get replacement keycaps for my laptop. It will also give me time to familiarize myself with Linux and decide what software options work best for me. That endeavor will be an entire post on the blog as well.
Peace.